our

Latest Blogs

Working with Material in Xamarin forms

iFour Team -July 05, 2021

Listening is fun too.

Straighten your back and cherish with coffee - PLAY !

  •  
  •  
  •  
Working with Material in Xamarin forms

What is Material Visual in Xamarin forms?

In Xamarin Material visual is a system created, that describe the color, size, spacing, text, and other aspects of how view and layout look and behave. The Xamarin Material is used to apply the Material Design rule in Xamarin.Forms application.

In Xamarin Forms Design system are responsible for control visualization in each platform, Xamarin forms code are run on multiple platforms and each has its own filesystem. In Xamarin, Material Design was introduced in Xamarin.Forms 3.6. Customize Material Visual is used to customize default controls.

On Android:

  • It should require a minimum version of 5.0 (API 21) or greater
  • TargetFramework of version 9.0(API 28)

You can use Visual Material in your project by adding the package

Xamarin.Forms.Visual.Material.

Material Visual can support the following controls:

  • Button
  • CheckBox
  • Entry
  • Picker
  • TimePicker
  • DatePicker
  • Slider
  • Stepper
  • ProgressBar
  • Editor
  • ActivityIndicator

Let’s see how to set Visual.


You can set the Visual property on the element or its parent or the page itself, you can set Visual as Material for the root element and override it as default for a specific element if needed.


Let’s create a Simple Material Design Example.

Step: 1

Open Visual Studio, click create a new project, after that select mobile app (Xamarin.Forms), then select Blank app and target platforms(Android, IOS, and UWP).

Step: 2

After successfully creating the project you just need to add the Xamarin.Forms.Visual.Material package.

For Adding the package Go to the Tools -> NuGet Package Manager -> Manage NuGet Package for Solution… -> Browse and search Xamarin.Forms.Visual.Material and install it.

Step: 3

After successfully adding the package add the following code for specific platforms.

Android Implementation

MainActivity.cs

 
protected override void OnCreate(Bundle savedInstanceState)
        {
            TabLayoutResource = Resource.Layout.Tabbar;
            ToolbarResource = Resource.Layout.Toolbar;

            base.OnCreate(savedInstanceState);

            Xamarin.Essentials.Platform.Init(this, savedInstanceState);
            global::Xamarin.Forms.Forms.Init(this, savedInstanceState);
            global::Xamarin.Forms.FormsMaterial.Init(this, savedInstanceState);
            LoadApplication(new App());
        }

iOS implementation

public override bool FinishedLaunching(UIApplication app, NSDictionary options)
        {
            global::Xamarin.Forms.Forms.Init();
            global::Xamarin.Forms.FormsMaterial.Init();
            LoadApplication(new App());

            return base.FinishedLaunching(app, options);

AppDelegate.cs

Step: 4

Now, set up the UI here we add material design.


Here, we can create an example using some Xamarin Material controls like labels, buttons, Editor, and Image.

Visual property has the following value:

  • Default: This property can indicatethe view using the default renderer.
  • Material: Indicates the view with direct parent’s renderer.
  • MatchParent: Indicates the view using the material renderer.

Now, we can see one more example of creating a Material Text Field.

Step: 1

After creating a Xamarin project open MainPage.Xaml and add the below code.


Step: 2

After that create a Class forEntryView in the shared project and you can also bind it with the Xaml.

using System;
using System.Collections.Generic;
using System.Text;
using Xamarin.Forms;

namespace XamarinMaterials
{
    public class EntryView : View
    {

    }
}

Searching for the Best Xamarin App Development Company ? Your Search ends here.

Step: 3

Create a class in the Android project and add the below code.

using System;
using System.Collections.Generic;
using System.Linq;
using System.Text;
using Android.App;
using Android.Content;
using Android.OS;
using Android.Runtime;
using Android.Support.Design.Widget;
using Android.Views;
using Android.Widget;
using Xamarin.Forms;
using Xamarin.Forms.Material.Android;
using Xamarin.Forms.Platform.Android;
using XamarinMaterials;

[assembly: ExportRenderer(typeof(EntryView), typeof(MaterialEntryRenderer))]
namespace XamarinMaterials.Droid
{
    public class EntryViewRenderer : Xamarin.Forms.Platform.Android.AppCompat.ViewRenderer
    {
        global::Android.Views.View view;
        EntryView entry;
        TextInputEditText editText;
        Activity activity;

        public EntryViewRenderer(Context context) : base(context)
        {

        }
        protected override void OnElementChanged(ElementChangedEventArgs e)
        {
            base.OnElementChanged(e);
            if (e.NewElement != null)
            {
                entry = e.NewElement as EntryView;
            }
            if (e.OldElement != null || Element == null)
            {
                return;
            }
            try
            {
                SetupUserInterface();
            }
            catch (Exception ex)
            {
                System.Diagnostics.Debug.WriteLine(@"ERROR: ", ex.Message);
            }
        }
        void SetupUserInterface()
        {
            activity = this.Context as Activity;
            var layout = (TextInputLayout)LayoutInflater.From(Context).Inflate(Resource.Layout.MaterialEntryLayout, null);
            editText = layout.FindViewById(Resource.Id.et1);
            layout.CounterEnabled = true;
            layout.CounterMaxLength = 5;
            SetNativeControl(layout);
        }
    }
}

Step: 4

After creating a class open the resource folder in the Android project and add a layout and add the below layout code.


Step: 5

Now, add a class in the iOS project and add the below code for the class.

using System;
using System.Collections.Generic;
using System.ComponentModel;
using System.Linq;
using System.Text;

using Foundation;
using MaterialComponents;
using UIKit;
using Xamarin.Forms;
using Xamarin.Forms.Platform.iOS;
using XamarinMaterials;
using XamarinMaterials.Droid;

[assembly: ExportRenderer(typeof(EntryView), typeof(EntryViewRenderer))]
namespace XamarinMaterials.iOS
{
    public class EntryRenderer : ViewRenderer
    {
        MaterialComponents.TextField field;
        MaterialComponents.TextInputControllerOutlined textfieldController;
        protected override void OnElementChanged(ElementChangedEventArgs e)
        {
            //base.OnElementChanged(e);  
            if (Control == null)
            {
                field = new MaterialComponents.TextField();
                field.HorizontalAlignment = UIControlContentHorizontalAlignment.Center;
                field.VerticalAlignment = UIControlContentVerticalAlignment.Center;
                textfieldController = new MaterialComponents.TextInputControllerOutlined(field);
                textfieldController.CharacterCountMax = 5;
                textfieldController.CharacterCounter.CharacterCount(field);
                textfieldController.TextInput.Placeholder = "Enter SomeThing";
                SetNativeControl(field);
            }

        }

        protected override void OnElementPropertyChanged(object sender, PropertyChangedEventArgs e)
        {
            base.OnElementPropertyChanged(sender, e);
        }
        private void Textfield_EditingDidBegin(object sender, EventArgs e)
        {
            var field = sender as TextField;

        }
    }
}
Conclusion

In this article, we have demonstrated the creation of MaterialTextField for Android and iOS. Using visual material controls can look different (color, size, spacing, etc.) compare to default control. We can simply enable Material Visual by adding the Xamarin.Forms.Visual.MaterialNuGet Package in the Android and iOS platform project.

Work with us

Well do everything we can to make our next best project!

Our Insights

Check out our most recent blogs

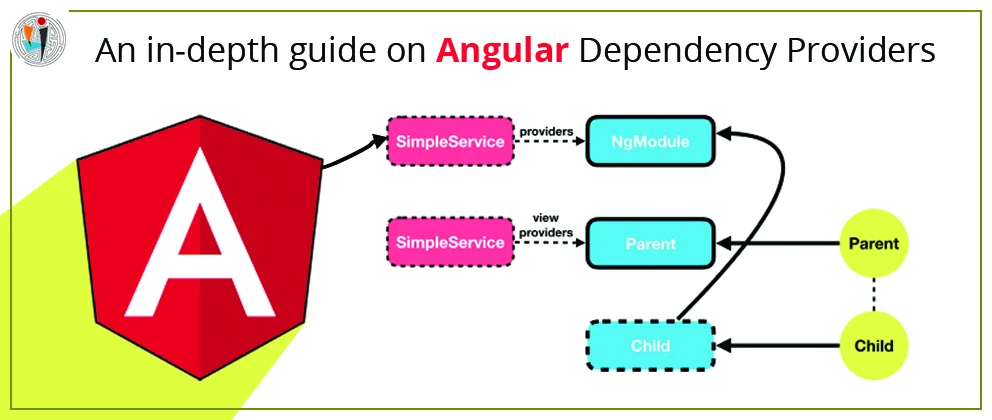
An in-depth guide on Angular Dependency Providers

What is Angular? Angular is a frontend development framework used for building single-page client applications using HTML and Typescript. It is written in Typescript. What...

A simple guide on AOT Compilation in Angular

What is a Compiler? A compiler is nothing but a part of code that converts one programming language to another. If we talk about some simple programming languages like C, C++,...

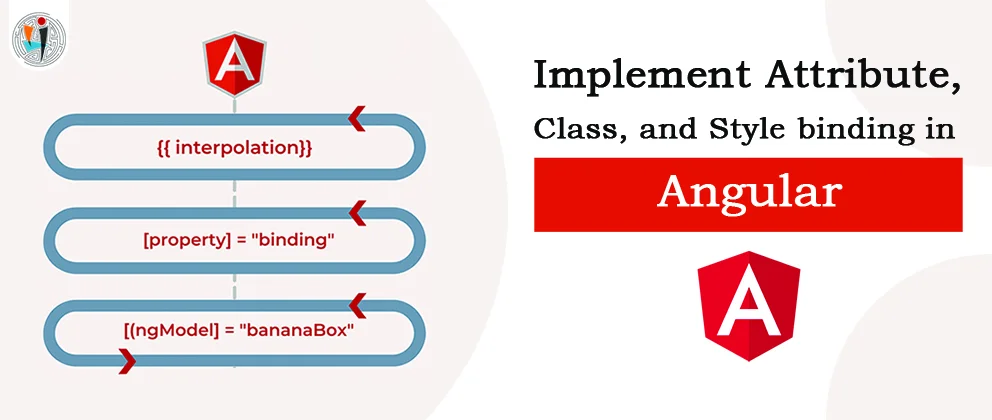
Implement Attribute, Class, and Style binding in Angular

What is binding in Angular? Binding in angular apps is the automatic synchronization of data within the model and view components. You can use data binding to define things...

Our Partners

Logo
Logo
Logo
Logo
Logo
Logo
Logo
Logo
Logo
Logo
Logo
Logo
Logo
Logo
Logo
Logo
Logo
Logo
Logo
Logo
Logo
Logo
Logo
Logo
Logo
Logo
Logo
Logo
Logo
Logo
Logo
Logo

Work With Us

Well do everything we can to make our next best project!