Introduction to Micro-frontends with Blazor web assembly
iFour Team -July 06, 2021
Listening is fun too.
Straighten your back and cherish with coffee - PLAY !
For most of the project, frontends development is hard and remains largely monolithic just like backend before micro-service, this means that is hard to scale development and the team can't work simultaneously on the large and complex project instead of being free to build, deliver and choose own technical solution for the project.
Instead of working separately, developers are bounded to the same codebase of the project and forced to crowd in the same build pipeline. And hence it makes development inefficient and hard to scale. The idea of micro-frontends allows to the use of micro-service in the frontend.
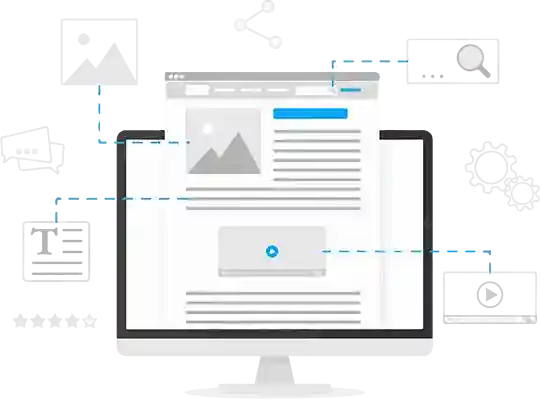
Micro-frontends are used to breaks monolithic frontends application into smaller and more manageable pieces of the application.
Micro-frontends
Micro-frontends are a new developing pattern where UI (Front-ends/User Interface) of the web application combines from independent small front-ends app which can be built using different technologies and different teams. Micro-frontends are used to break down monolithic web application into microservices. Micro-frontends approaches are used to avoid creating unstructured and difficult-to-maintain code, improve the structure of code and avoid coupling of the component.
The Path class is derived from the shape class and you have also created complex shapes and curves. These curves and shapes are described using Geometry objects.
Methods for implementation of Micro-frontends with Blazor
There are four ways for implementing Micro-frontends architecture using Blazor
Method 1: Micro-apps with a shared session and parameters
Micro-app is an excellent approach when the project is large and complex. Using micro-app multiple apps can access shared sessions, parameters, and even style.
Sharing session and account or general information across different application makes user comfortable and safe because the user doesn't need to start a new session or give information when they need.
An example of this concept is GSuit (Google productive suit). GSuit provides different Google applications (YouTube, Gmail, Google Photo, Calendar, and So on) using the user's Google account. To do this using Blazor, every application is blazor project and they have shared session information.
To implement micro-frontends architecture with Blazor, routing is the easiest way. To implement micro-frontends using routing, create a new project for each URL of the main menu of your project. Each project is accessible via a different route in the URL, and they are independent of each project.
Method 3: Blazor as a component in an existing project
Blazor is a component in an existing project that is used when you already have a project in JavaScript (such as React.js, Angular, Vue.js, and so on). This method is used when the functionality of project requires high performance or other reason. This architecture is more complex and the main application can be the Blazor project.
An example of this concept is https://awesome-swirles-33a9a7.netlify.app/admin/compiler In this application, you will see the React application consuming Blazor project which is used to provide components to compile C# code into the browser.
Figure 3 Micro-frontend architecture using Blazor as a component
Method 4: Shared components or a Razor class library
To use a shared component or a razor class library, add a folder with the name "Shared" and add a shared component or razor library to this folder that can be reused across the project into components or pages. This method is a very simple and good way to implement micro-frontends architecture using Blazor, this method split the UI (User Interface) into small and reusable pieces with a single responsibility.
To share components across different projects you can create a Razor library or NuGet package to share them with the community.
An example of this concept is the micro-frontend project which incorporates two shared components inside its page. The shared component is a combination of C# and HTML code. Shared components are referenced by filename and used [parameter] to specify which properties will be parameter when component calls.
@code {

   // Used to supply a parameter to the parent component

   [Parameter]

   public string CallComponent { get; set; }

}
Figure 4 Micro-frontend architecture using a shared component
Let's Start with an Example
Step 1:Create a Blazor assembly application.
Open Visual Studio 2019.
Go to file manager ->project.
Create a new Blazor Application with the "BlazorDemo” name and click on the Create button.
Figure 5 Create Blazor Application
Step 2: Select project template.
Select the Blazor Web Assembly App template and click on the Create button.
Figure 6 Select project template
Note: .Net 5.0 Must required
Step 3:Add Razor Library project
Open Server Explorer
Right-click on the solution and go to Add->New project "Component" and "Component1".
Step 7: Add Reference of Razor library in Blazor project.
Right-click on Blazor web assembly project go to add->Project Reference Add Reference of “Component” and “Component1” Razor library.
Figure 8 Add Reference
Step 8: Build and run Project.
Figure 9 Output
Conclusion
In the above blog, we worked through how to implement micro-frontends in Blazor web assembly project with an example. Micro-frontends approaches are used to avoid creating unstructured and difficult-to-maintain code, improve the structure of code and avoid coupling of the component so that different team works with different technology on the same project.
What is Angular?
Angular is a frontend development framework used for building single-page client applications using HTML and Typescript. It is written in Typescript.
What...
What is a Compiler?
A compiler is nothing but a part of code that converts one programming language to another. If we talk about some simple programming languages like C, C++,...
Introduction
Angular is a remarkable framework that may be used to create mobile and desktop web apps with spectacular UIs. It's made with JavaScript. we can utilize HTML, CSS,...
Our Partners
Work With Us
Well do everything we can to make our next best project!