our

Latest Blogs

Fingerprint Authentication in Xamarin Forms Mobile App

iFour Team -June 18, 2021

Listening is fun too.

Straighten your back and cherish with coffee - PLAY !

  •  
  •  
  •  
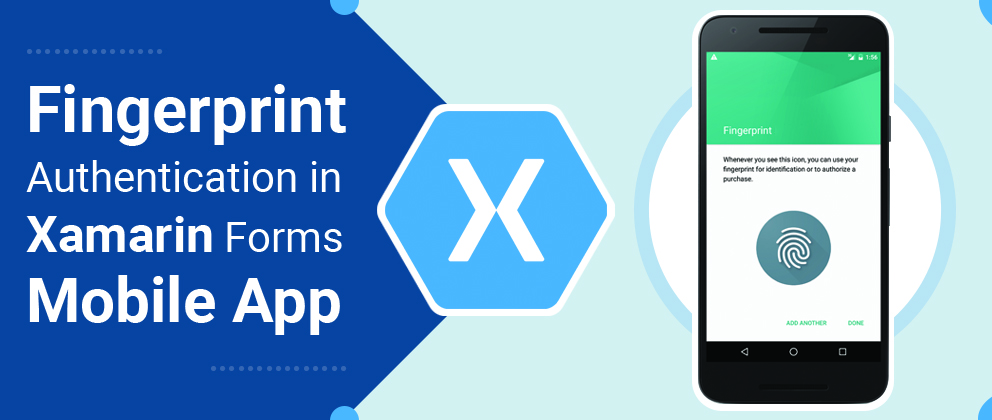
Fingerprint Authentication in Xamarin Forms Mobile App

Nowadays, almost all applications provide fingerprint or face id or any other biometric system for secure data access. Fingerprint and face id are the most secure way to use application and secure the user data. In Xamarin, using the native code this biometric process should be done for each platform.

Xamarin forms forms allows you to share a single code on multiple platforms and you can also share application UI on all platforms. Xamarin forms have their own filesystem. Using Xamarin forms we can authenticate a user’s fingerprint, face id, and any other biometric authentication. There are some plugins are available for making easy this biometric authentication cross-platform.

For this authentication, we required a version of Visual Studio 2017 or later (Windows or Mac).

Limitations

In Xamarin Forms, there is a limitation for fingerprint and face id, it will not store in your application database for security reasons. It will be store in your mobile hardware and that is the OS level data. Not all android devices are supported face id detection some android devices support this feature.

Permission

For using the face id or fingerprint or other bios metric so firstly we need to add permissions for both Android and iOS.

Now, let’s start with the implementation.

Step: 1

Open Visual Studio and select Xamarin project.

Create a Xamarin project

Image: Create a Xamarin project

After selecting Xamarin forms, select Blank App for Android and iOS platforms.

Select template and platform.

Image: Select template and platform.

Step: 2

When we started a project first we need to add the NuGet package, for adding package Go to Tools -> NuGet Package Manager -> Manage NuGet Packages for a solution and add Plugin.Fingerprint Package.

Step: 3

When we work on bio-metric we need to give permission for Android and iOS.

Open AndroidManifest.xml and add the below permission.


Step: 4

Now, create a file in a shared project.

FingerPrintService.cs

using System;
using System.Threading.Tasks;

namespace FingerprintExample
{
    public interface FingerPrintService
    {
        String GetType();
        Task UserID();
        bool fingerprintEnabled();
    }
}
				

One Stop Solution for Xamarin Mobile App Development ? Your Search ends here.

Step: 5

Now, open the Android project and create a class.

FPService.cs

Step: 6

After that, we create a fingerprint handler to handle the fingerprint callback.

FingerPrintHandler.cs

				using System;
using System.Collections.Generic;
using System.Linq;
using System.Text;
using Android.App;
using Android.Content;
using Android.OS;
using Android.Runtime;
using Android.Support.V4.Hardware.Fingerprint;
using Android.Views;
using Android.Widget;
using Xamarin.Forms;

namespace FingerprintExample.Droid
{
    public class FingerPrintHandler : FingerprintManagerCompat.AuthenticationCallback
    {
        private Context mainActivity;

        public bool AuthResult;
        public FingerPrintHandler(Context mainActivity)
        {
            this.mainActivity = mainActivity;
        }
        internal void Startprog(FingerprintManagerCompat fingerprintManager, FingerprintManagerCompat.CryptoObject cryptoObject)
        {
            CancellationSignal cancellationSignal = new CancellationSignal();
                    }
        public override void OnAuthenticationFailed()
        {
            FPService.IsAutSucess = false;
            Toast.MakeText(mainActivity, "Fingerprint Authentication failed!", ToastLength.Long).Show();
            MessagingCenter.Send("Auth", "Fail");
        }
        public override void OnAuthenticationSucceeded(FingerprintManagerCompat.AuthenticationResult result)
        {
            FPService.IsAutSucess = true;
            Toast.MakeText(mainActivity, "Fingerprint Authentication Success", ToastLength.Long).Show();
            MessagingCenter.Send("Auth", "Success");
        }
    }
}
				  
Conclusion

In this blog, we can see how to add fingerprint authentication to our app. Most of the users are uses a fingerprint sensor instead of entering a password because is easier than typing a password. And it carries a more security key it’s not easy to access fingerprint sensor to other users. Most advantages of fingerprint sensor are you cannot forget a fingerprint and in password, you can create a strong password but there is a chance that the user has to guess a password and, in a fingerprint, no one can guess a fingerprint.

Work with us

Well do everything we can to make our next best project!

Our Insights

Check out our most recent blogs

An in-depth guide on Angular Dependency Providers

What is Angular? Angular is a frontend development framework used for building single-page client applications using HTML and Typescript. It is written in Typescript. What...

A simple guide on AOT Compilation in Angular

What is a Compiler? A compiler is nothing but a part of code that converts one programming language to another. If we talk about some simple programming languages like C, C++,...

Implement Attribute, Class, and Style binding in Angular

What is binding in Angular? Binding in angular apps is the automatic synchronization of data within the model and view components. You can use data binding to define things...

Our Partners

Logo
Logo
Logo
Logo
Logo
Logo
Logo
Logo
Logo
Logo
Logo
Logo
Logo
Logo
Logo
Logo
Logo
Logo
Logo
Logo
Logo
Logo
Logo
Logo
Logo
Logo
Logo
Logo
Logo
Logo
Logo
Logo

Work With Us

Well do everything we can to make our next best project!